Windows Mail and Windows Live Mail are replacements for Outlook Express. Since the programs are similar, the instructions for creating an email signature with an image are similar. However, there are differences. One example is Live Mail may display the image border with a red X and not the contents. To make the instructions a bit easier, I broke them into sections. The first section deals with creating the elements you want in your signature. I refer to this as the “Signature source file”. This HTML includes your graphics such as a logo and accompanying text. The second part details how to link that file to your email signature. The last section should be used if your email signature only shows a border.
Note: Microsoft retired Windows Live Mail in May of 2016.
Part 1: Create a HTML Signature Source File
- Open up your email program.
- From the File menu, click New and then Mail Message. The New Message window opens.
- From the Insert menu, select Picture… (Live Mail users select Insert | Image | Inline…)
- Navigate to the image file you wish to insert.
- Click the Open button. Your image should show in the New Message window.
- Optionally, you may add text.
- From the File menu, select Save As…
- Type your File name and select HTML as the file type.
- Close the open window.
TextExpander: Worth It? Find Out.
Is TextExpander the right tool to boost your productivity? Get an independent assessment, weigh the pros and cons, and make an informed decision. Find out why I’m a fan.
Read the ReviewPart 2: Link the HTML file to your Email Signature
Now that the file with your image and text is saved, you need to point your email program to it.
- From the Tools menu, select Options.
- Click the Signatures tab.
- In the Signatures section, click the New button.
- In the Edit Signature section, select the radio button for File.
- Click the Browse… button.
- Navigate to the HTML file you just created. You may need to change the file types list to HTML Files.
- Highlight your file and click Open.
- Check your desired Signature settings.
- Click OK.
If you’re a Windows Mail user, you’re done. When you create an email you should see your image signature appear based on your settings.
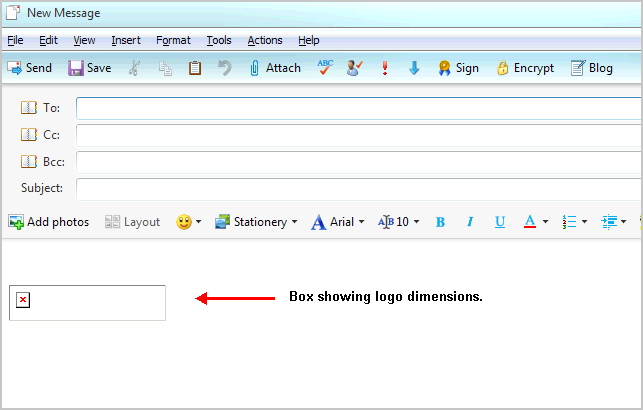
You’re not as lucky if you’re a Windows Live Mail user. Rather than seeing your image, you may see a box representing your image or logo dimensions.
Fixing Windows Live Mail Signature Images
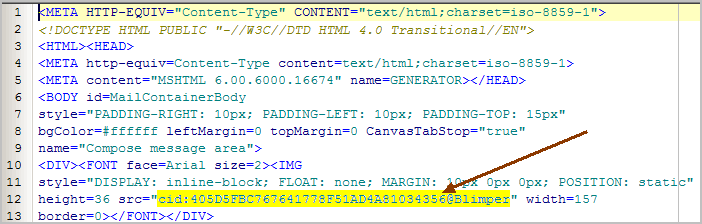
The reason this problem happens is the way Live Mail references the image in your HTML file. To fix the problem, you need to replace the cid: location with the file’s path for your image. The thumbnail below shows an example of this cid: reference.
- Navigate to your image file with Windows Explorer.
- Right-click the image name and select Properties.
- On the General tab, click to the right of the Location: line.
- Right-click and choose Select All
- Press Ctrl+C to copy the file path to your clipboard.
- Using Notepad or a HTML editor, open your HTML signature file.
- Locate the line with src=”cid:
- Remove the contents between the quotes.
- Press Ctrl+V to paste in your file path.
- Append that path with a slash and the file name such as logo.png
- Save your file.
In my case, I replaced
src=”cid:405D5FBC767641778F51AD4A81034356@Blimper”
with
src=”C:Documents and SettingsCompaq_OwnerMy DocumentsMy Pictureslogo.png”
Although you do have to do extra work to add an image to your email signature, it can be worth the effort. The good news is you only have to do this process once per signature. And for those people that haven’t tried Windows Live Mail, you should consider it as it offers more features and security.
If you still don’t see your image, you may need to go to Tools > Safety Options… > Security Tab > Download Images section and uncheck Block Images.